Atas Techo Tile Manuel d'utilisateur

Naviguer en ligne ou télécharger Manuel d'utilisateur pour Pour la maison Atas Techo Tile. ATAS Techo Tile User Manual Manuel d'utilisatio

  • Télécharger
  • Ajouter à mon manuel
  • Imprimer
  • Page
    / 4
  • Table des matières
  • MARQUE LIVRES
  • Noté. / 5. Basé sur avis des utilisateurs
Vue de la page 0
Installation Guide
The panels, flashings and trim shown in this guide, illustrated
over solid and plumb substrate, assume that the structure has
been designed and prepared in accordance with local building
codes.
“J” Channel
X - Stitch Screw
SWR8XX
Approximately 15/sq.
X - Anchor Screw
SWR9XX
Approximately 1 for every
8” of eave.
O - Screws
SWR6?? (for metal)
SWR7?? (for wood)
Approximately 38/sq.
O- RSS211 (for wood)
RSS210 (for metal)
Approximately 8/sq.
PANEL LAYOUT FROM RIGHT TO LEFT
1. Start by stitching panels together from right to
left, using fastener (x). Locate fasteners just below
step, at high point of profile. Do not
fasten to substrate until 3 panels are stiched
together.
2. Align 3 panel assembly along eave, allowing for
1/4” to 1/2” space within “J” receiver. Locate fas-
teners (X
) in low point of panel.
3. Fasten panel at ridge line with fastener (
O ).
4. Fasten panels to substrate with fastener (O) at
location shown.
5. Stitch subsequent panels to previous panel using
fastener (X). Install panel at eave and ridge with
fasteners (X). Fasten panel to substrate
using (O).
**During installation DO NOT stand on or over fastening point.
Note: For ease of installation, pre-drill the panels at ground level.
NOTE: Use extreme care not to overdrive the fasteners in the main field of the panel.
In high wind zones, additional fastening may be required. Consult governing codes.
For panel lengths over 15’ consult factory for proper
panel installation procedures.
Review and understand complete guide
before beginning installation. This guide
has been prepared as suggested details to
particular design conditions. Each condition
has certain limitations to performance, aethetics
or economics. Professionals qualified to assess the information
regarding suitability for a specific project, should determine that
the selection and installation are made to their requirements.
ATAS cannot assume any responsibility for the actual selection
and/or installation of materials.
No Attachments
at this row to
prevent distortion
of panel
3 Panels @ 40” Coverage Nominal
High Points of
Tile Pattern (Typ.)
Side Lap
(Joints)
Vue de la page 0
1 2 3 4

Résumé du contenu

Page 1 - Installation Guide

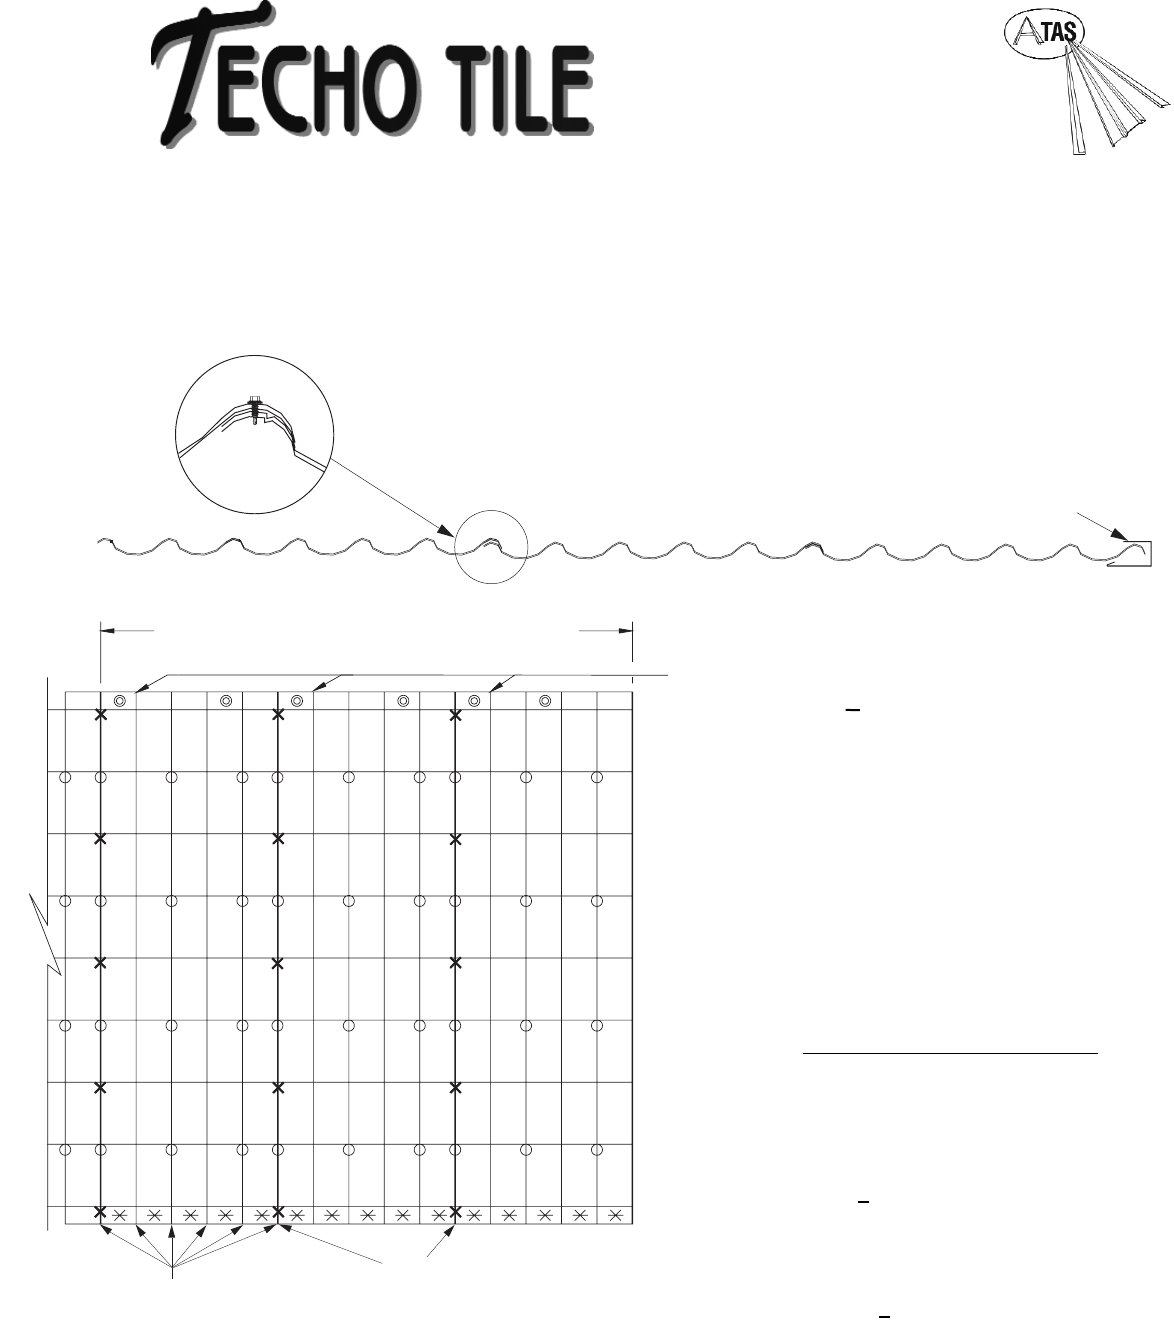
Installation GuideThe panels, flashings and trim shown in this guide, illustratedover solid and plumb substrate, assume that the structure hasbeen des

Page 2 - Valley Detail

Eave DetailGable DetailValley Detail1. In re-roofing applications: cut back and remove existing shingles and drip edge to be flush with the eave and g

Page 3 - Shed Ridge Detail

Hip & Ridge DetailHeadwall DetailShed Ridge DetailHip and ridge applications are handled in the same manner.1. Install panels to meet the Hip/Ridg

Page 4 - Sidewall Detail

Pipe DetailStep 1Cut on the proper pipediameter marked on the flashing. Step 2Position over pipe and slidedown the pipe.Step 3Apply polyurethane seala

Commentaires sur ces manuels

Pas de commentaire